
First Steps on betterplace.org
If you want to raise funds on betterplace.org you first need to sign up yourself. Afterwards you can register your organisation (provided you have one), and then, finally, register your project on betterplace.org.
1. Registration as a User
⌲ “My betterplace” – the face behind your project: Presentation of the Project Manager
Before you can register your project (and your organisation) you have to sign yourself up personally. Keep in mind that as a project manager, you are the public representative and contact person of your project (respectively your organisation). This is why you should give your full name when signing up and don’t use nicknames or cute user-handles.
Go to betterplace.org and follow the link “Login” which you can find on the top right side in the menu. Or you can visit http://register.betterplace.org instead.
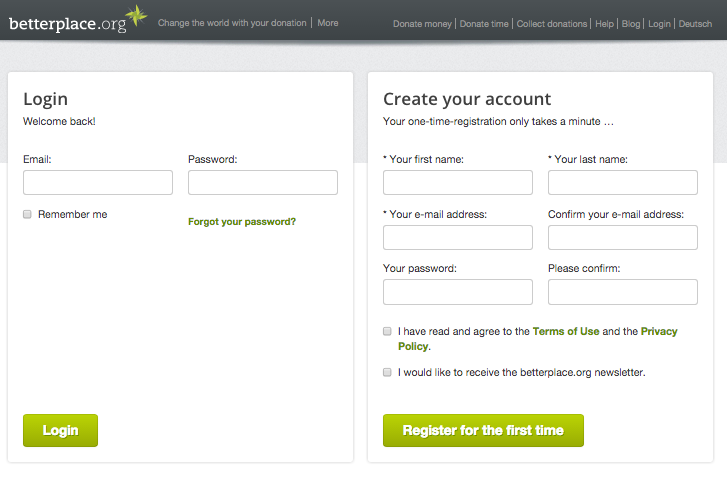
Now you should present your personal profile in a professional way. betterplace.org is build on a trust network. That means: Other members and especially potential supporters should be able to see who you are and what they are supporting. That doesn’t only render your project more attractive, but also more trustworthy. In the long run, this will also increase the success of your project on betterplace.org.
-
Once you are registered on betterplace.org you have your own personal area from where you can direct every further step. This area is called “My betterplace” , and you can reach it from everywhere on the platform with a single click. The link “My betterplace” is on the top in the navigation line, when you are logged in.
-
On “My betterplace” you can edit your profile and upload a photo of yourself (under “Profile pictures” ). Be sure to post a photo of yourself in which you are easily recognizable – preferably a portrait of yourself. Do away with sunglasses or other accessories in the face.
-
Click on the navigation line on the right hand side on **“Profile details”. ** Then choose the relevant section to edit all the other information and add a description.
2. Registration of your aid project
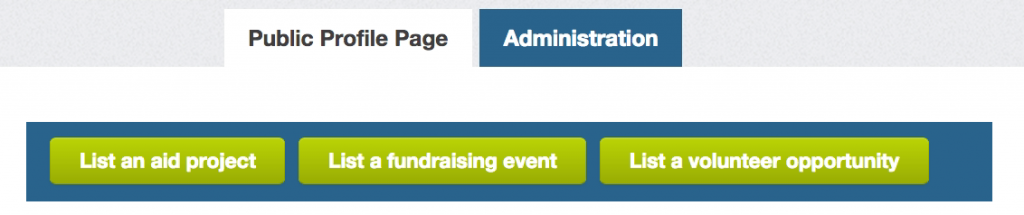
Go to your personal profile “My betterplace”.
-
Now click on “List and aid project” in green in the menu below.
-
Your project has to comply with this list, in order to go online on betterplace.org. Does your project meet all the criteria? Perfect! Then you only need to read the terms and conditions and input a project title.
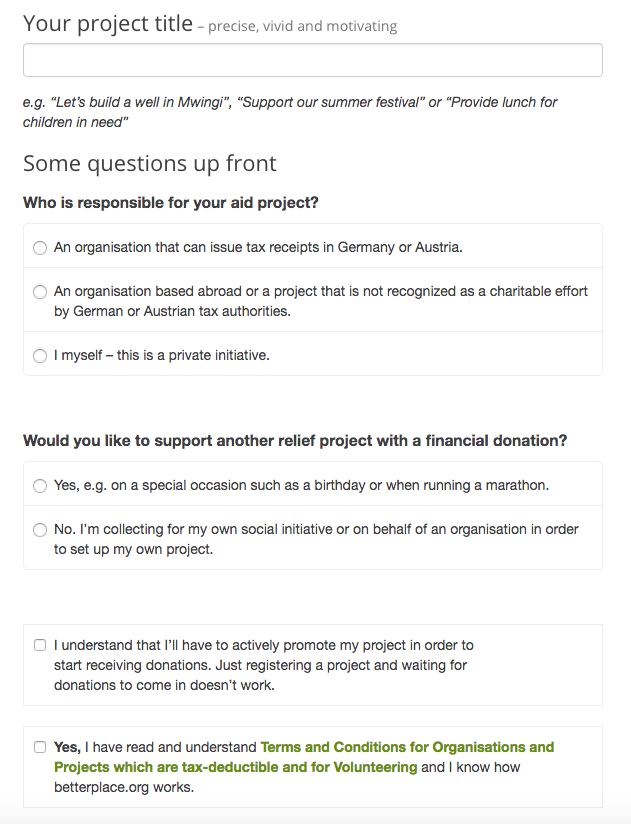
⌲ Project title
When choosing a project title, make it detailed and not too superficial. A title such as „Help for Africa“ is to general. Describe the aid project in a few words as concrete as possible, also because the title is limited to 75 signs. Avoid names that outsiders can not relate to. Stating information about where your project is located makes it more tangible, though. On the other hand, give an information where your project is located, so it is more concrete. Example: „Dormitory for orphans in Uganda“. Then click on ‚create project page’. Your project will be registered now, but not online yet.
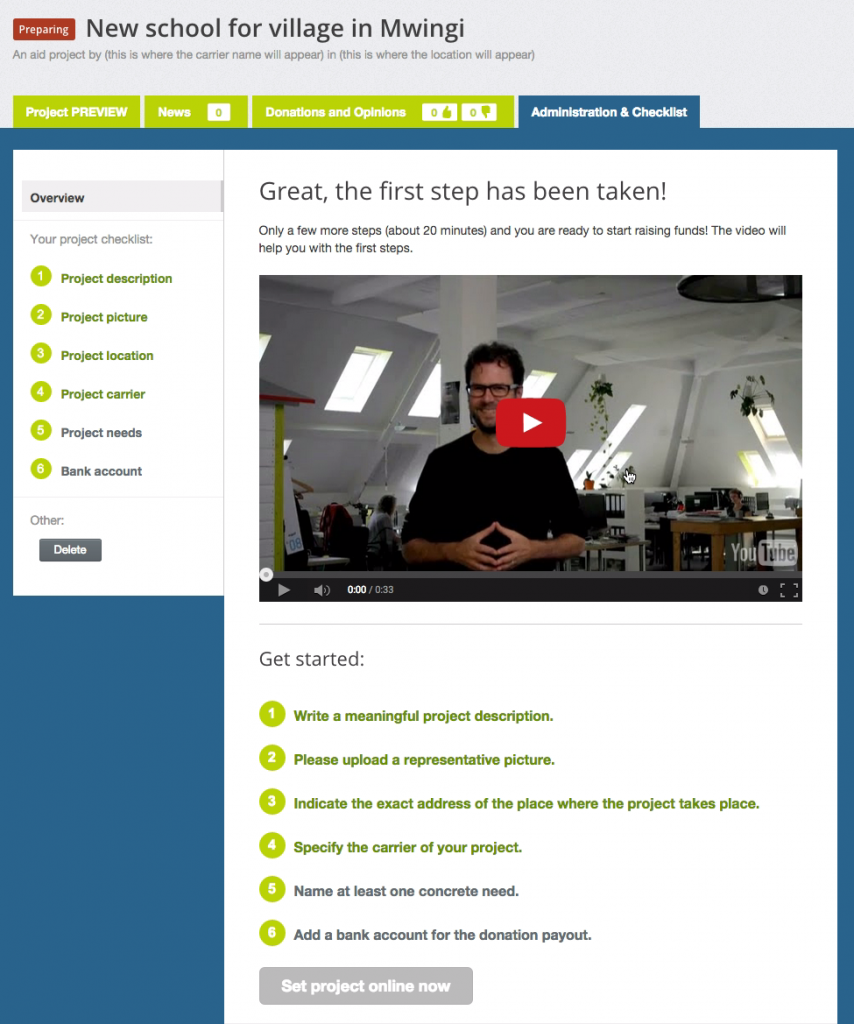
You will be forwarded to the administration section of your project. There you can watch a short video, where Björn, head of the ‚projects & organisations’ team, will explain the next steps. This will be about completing the ** To-Do list** so that your project can be set online. When you start with the list, first add steps 1-4 and then the rest. To do so simply click on the green underlined buttons. Important: To go back to the To-Do list click on the ‚Administration’ again.
⌲ 1. Project description
The rule applies here as well: it pays off to be transparent. Clearly and realistically describe what the project is about; what is the problem , you’re trying to deal with? What is the plan you are trying to pursue with the project? What is the actual size of the project? Who is working on it? How should the project be realised? Which are the concrete measures that should be taken and which resources do you need for it? You should give an answer to all of these questions on your project profile, since it renders your project comprehensible and tangible for every betterplace.org-user. Justify the sense of your commitment and line out which influence a donor could possible have on the situation at the location of your project. Ask an outsider who is not involved in your project to read your text in order to check its clarity.
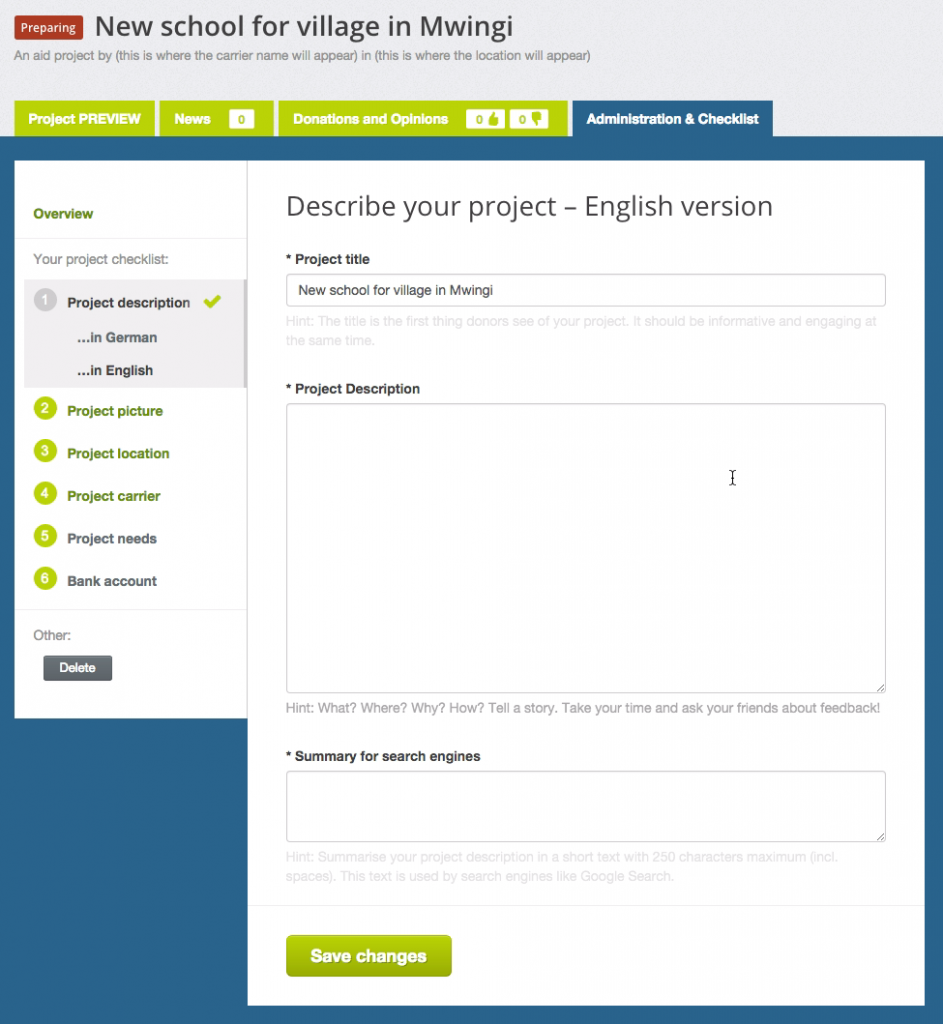
You have the possibility to translate your project description into German. In case you want to edit your project description again later, just click on the profile of your project in the area of “Administration” on “Description” and change the relevant sections of your text.
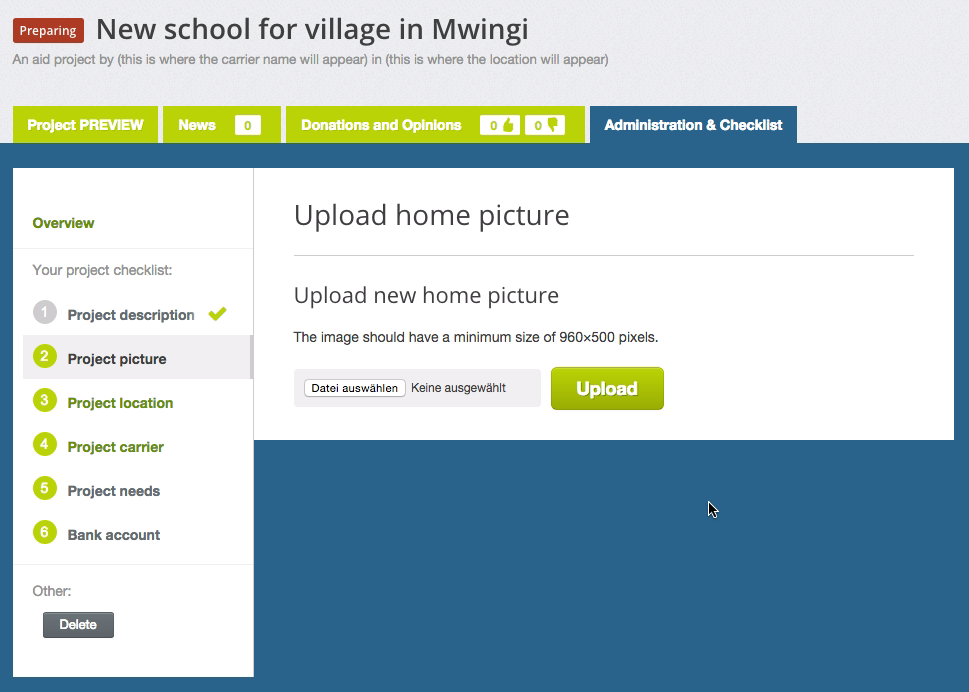
⌲ 2. Add a meaningful picture
Please add a picture and click ‘save’. Once your project is online you can edit your picture and add more pictures in the ‘gallery’.
⌲ 3. Project location
This is where you should give the concrete location where the actual project is taking place. This might not be identical with the headquarters of your organisation and is from high relevance for donors who are searching on our country map for a specific project.
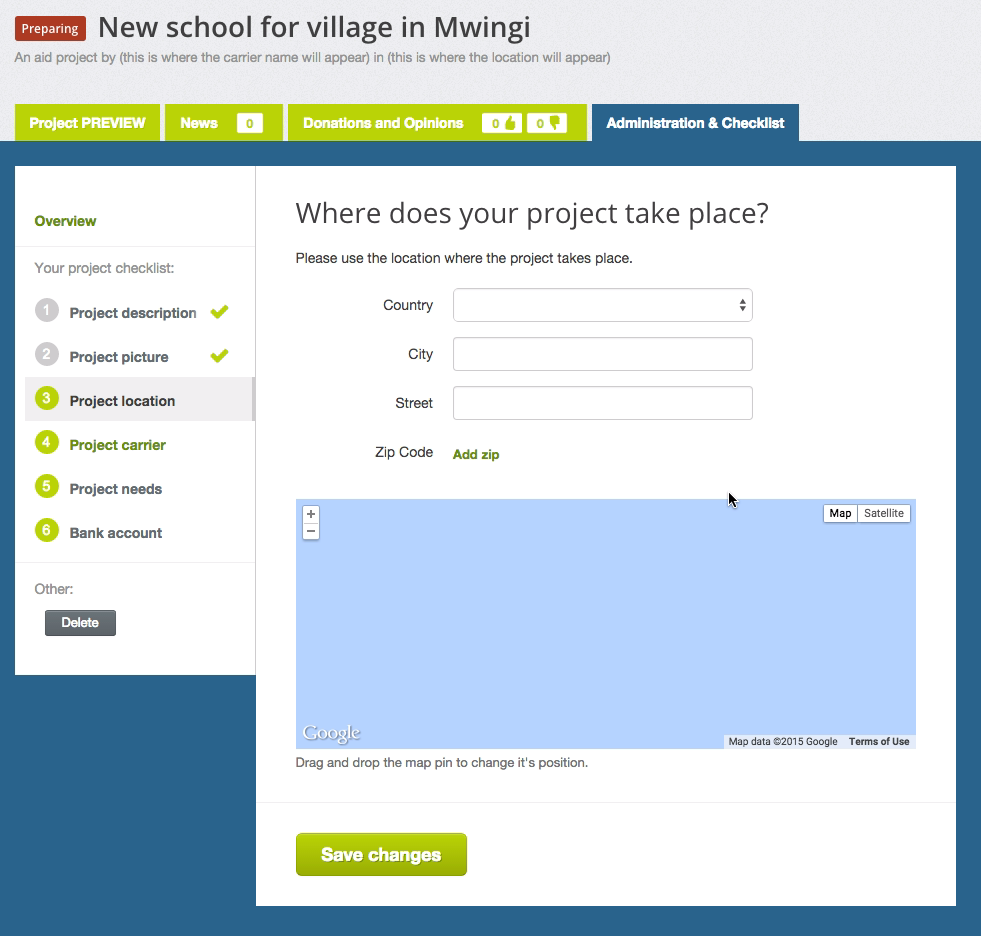
Important : The geographical data of the project needs to exist on google. This way the system recognizes the exact location. Should the location of your project not be found, please select the next bigger city and redirect the red pin to the exact project location. You can edit the project location later in the administration section.
⌲ 4. Define a project carrier
As of September 12th 2016, it will no longer be possible for you to register any new projects on betterplace.org that are not recognized with charitable (gemeinnützig) status in Germany. So your organisation needs to be tax deductable in Germany and therefore can issue donation receipts under the German Tax Law. Should you already be in charge of an tax deductable organisation, which is registered on betterplace.org, it will be listed here.
Register New Organisation
If your organisation does not yet exist on betterplace.org you will be asked to register it.
Now add all the relevant information about your organisation. An explanation beside each text box helps you out in case it is unclear what the text box is about.
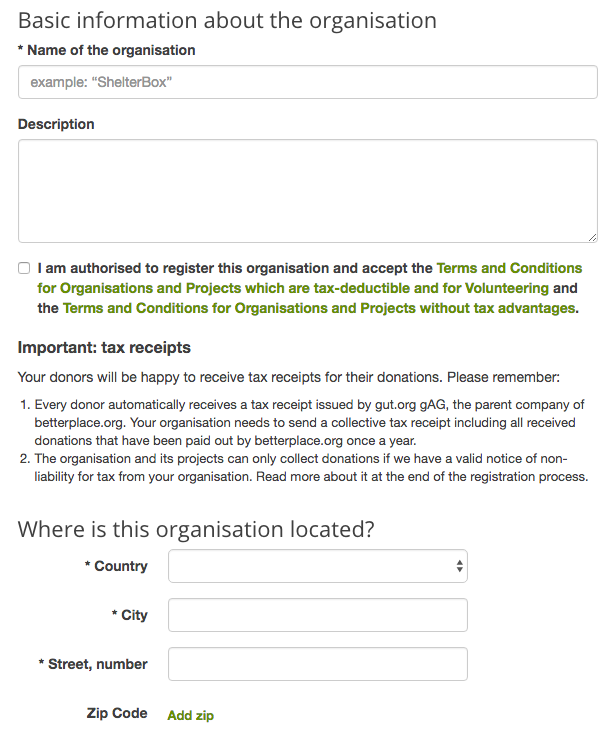
While filling them in you should pay attention to the following:
Give a brief insight into the history of your organisation, where it is today, which goals it is pursuing and what philosophy makes it tick. What is your vision for the future? Do you already have some successes to talk about? Or was the organisation just recently founded? No problem – just be honest, and transparent; the donors will thank you with their trust. Also, highlight your awards and recognitions, quality seals and prominent supporters, patrons or ambassadors, who are judging your organisation positively. Please also upload the logo of your organisation.
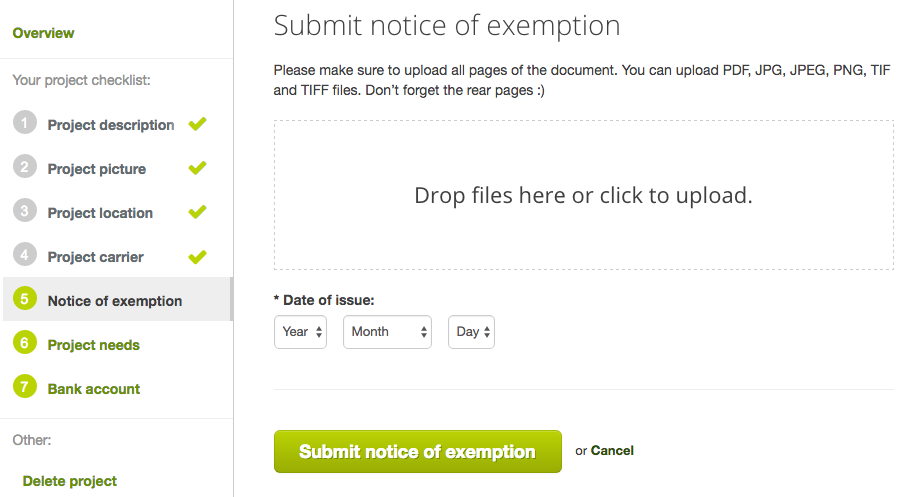
Most Importantly: Because your organisation has to be tax deductible in Germany you need to upload a “notice of exemption”of the German Tax Office here.
⌲ 5. Register at least one need
Specify and register your needs
Now it’s about the time to register the needs of your project. It’s not a problem to add new needs later on, but you have to register at least one need in the very beginning in order to publish your project. betterplace.org is characterized by rendering help more tangible and concrete as it is described with concrete needs. You could ask for example for a “plaster for a school”, “Malaria medications” or a “sewing machine to outfit a new tailor shop”.
Amount of Needs, Analyse, seperate and break down your needs
To begin with, consider what is most urgently and most importantly needed for your project. Please avoid trying to fulfil every single need at once. Reduce yourself to the most crucial ones and try to achieve that these will be funded successfully first. New needs can be added at every point in time, when a need was fulfilled e.g.
Speaking from our experiences, smaller needs are more attractive to donors than larger ones. The smaller the sum of donations is to fulfil a need a hundred percent, the better! Thus, if possible, break down the needs into its separate parts: rather register more needs which are called “2 packages of seeds” than a single large one called “20 packages of seeds”. Rather twelve separate monthly salaries than an annual salary, rather every scholarship than altogether for the whole class, rather the building materials in specific terms than in general and so on. In that way every single need has a much-increased chance to get fulfilled quickly.
Add needs
Now register the needs you need to realise your project. By describing your needs you should possibly achieve to convince the potential donors that the realisation of this specific need is making the world a bit better. Keep in mind that potential donors only know what you communicate! Give the donors a clear and unique description of your costs, since only a transparent breakdown can guarantee the quick financing of your project.

A need can consist of more than one part, of which you can note the amount in the box “Quantity” , e.g. “3 footballs”, “10 meals” or “100 brochures”. In case the amount is given as “1”, there will be no number in front of the name of the need. This is particularly favorable if you are in need of a single thing or a general need. Now give the total amount in Euro – e.g. 45 Euro if you’re in the need of three footballs that cost 15 Euro each. Then, you only have to describe the need briefly but precisely and tangible as well as name its use. Last click on **‘add need’ ** and decide if you wish to add more needs to the list.
Please note : As soon as a need has received a donation, you may not edit or delete it anymore. That is to say you can’t even translate it anymore. However, you can add additional needs in the duration of your project. So, rather start small!
⌲ 6. Add a bank account
Now add a bank account, to which the donations will be forwarded. You can choose a bank account, which is was already put in or add a new one. Please note that you need to insert the official organisation bank account. We do not pay out money to a private bank account.
Important: Choose the right bank account and click on ‘save changes’
⌲ 7. Set project online
When you followed all the steps and checked the whole To-Do list you can send the your project to be checked by the betterplace.org team. Simply click on ‘set project online now’ once all steps of the list are checked.
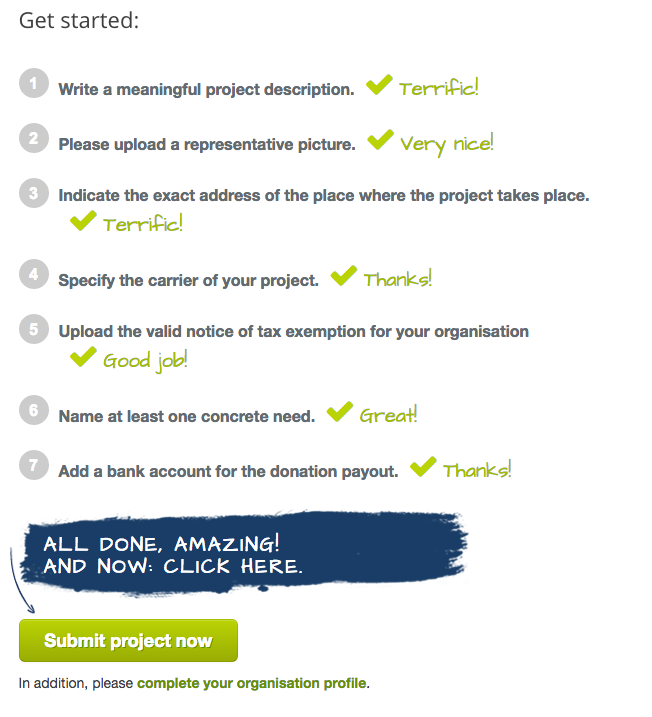
The projects team will examine your project and then set it online. This process usually takes maximum two working days, usually it is faster than that. The project registration is done now. Once your project is online you will receive an e-mail.
If you have any further questions don’t hesitate to contact our Support-Team: support@betterplace.org